Restore
Data
Backup
Data
Print
Print
Preview
Print
Setup
Print
Old Receipt
Login
Logoff
Change
Password
Export
Report
POS
Exit
This menu is used to open a database (destination
where the information is stored) and there after load this database as default.
The function loads all the information from the database.
When you click on Restore Data, a dialog box
will be provided to locate the database path as shown in Fig
1. After locating the database path, click Open button. This will
automatically load the database and its settings.
The shortcut Key for Restore Data is Ctrl+O.
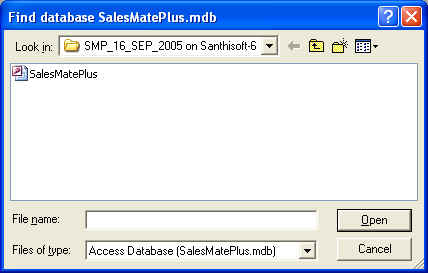
Fig
1: Restore Data
Screen
Backup
Data
This
menu backups the database to a specified location. Backup database will keep a
safe copy of the database file in another location like Hard disk/Floppy
disk/Pen Drive etc. It is recommended to take backup everyday because database
is the most important part of the application. By restoring the database from
backup location you can run the application even if the computer crashes or
database gets corrupted due to power failure or some other means.
When
you click on Backup data, a dialog box will be provided to specify the
backup path as shown in Fig 2. You can choose a
unique folder from this Browse window.
The
shortcut key for backup database is Ctrl+B.
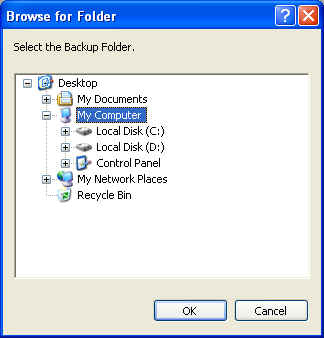
Fig 2: Backup Data Screen
Print
This
menu is used to print a document. There will be two modes of printing for this
application; one is the most common Windows mode printing and the other is the
DOS mode (fast character mode print) continuous printing. By default the mode is
Windows mode. You can make it DOS mode from the windows menu.
In
the print settings Bypass Print dialog box and Print Receipt
Continuously are unchecked then Print dialog box will appear on clicking
print. The print dialog box is as shown in Fig 3.
The
shortcut key for printing is Ctrl+P.
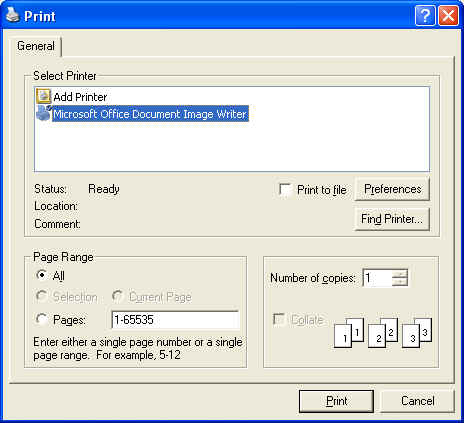
Fig
3: Print Screen
Print
Preview
This
menu is used to preview a document before printing. Please note that the preview
of document is only for windows mode.
The
shortcut key for Print Preview is Ctrl+W.
This menu is used to set up the page before printing in
Windows mode. Please note that Print setup of document is only for windows mode.
For DOS Mode printing, provision is there to customize the receipts from the
Settings menu.
Print
Old Receipt
This
menu is used to print
old receipts of Sales and Transactions. When you click on Print Old Receipt,
a dialog box will be provided as shown in Fig 4. You
can select the appropriate Receipt type, specified date, Bill No./Transaction
ID. Then corresponding transactions will be listed. When you select an item from
the list and click OK, the receipt will be displayed in the main
window. Also you can double click on the item to display corresponding Bill.
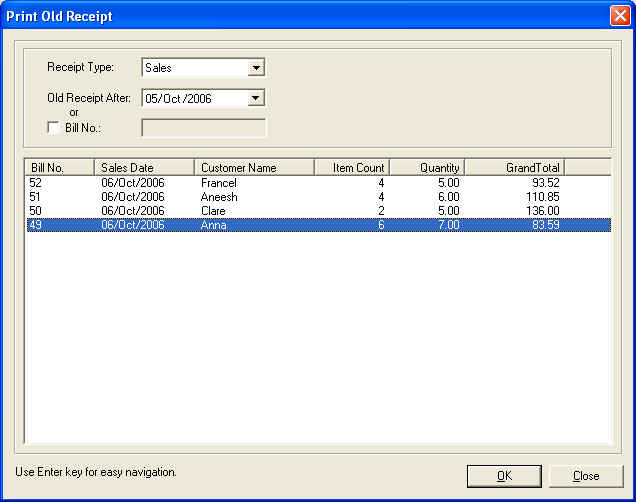
Fig 4: Print Old Receipt screen
The Output is as shown in Fig 5
and Fig 6.
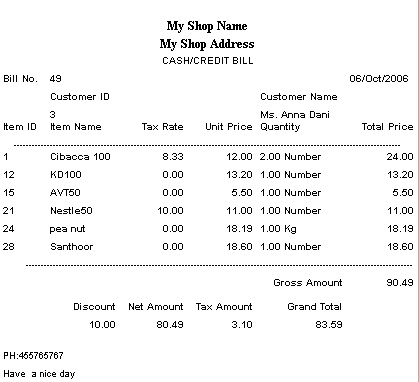
Fig
5: Old receipt of sales
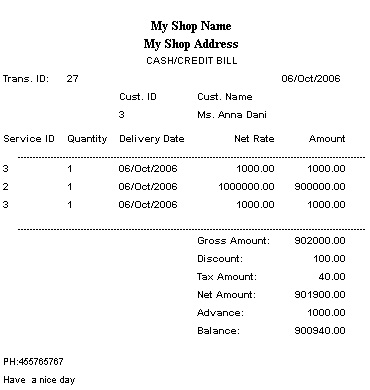
Fig 6: Old Receipt of
Transaction
Login
User can login to the
application.
You should enter a valid User Name and Password. After entering a valid User
Name and Password click OK. Login screen is as shown in Fig 7.
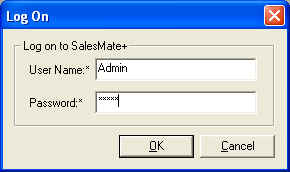
Fig
7: Logon Screen
Logoff
This
menu item will Log off the current user. A
confirmation message will be displayed whether to logoff or not. The login user
dialog box will be displayed after log off.
Change
Password
This menu is used to change the password of the
login user. Upon clicking this menu you will be provided with a dialog box as
shown in Fig 8. You can enter the new password and
confirm the password, then click OK. The entry will be saved to the
database.
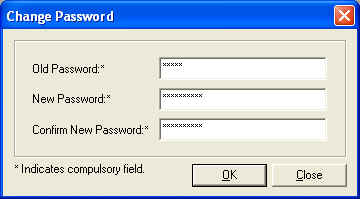
Fig
8: Change Password Screen
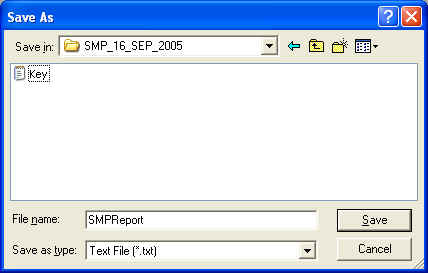
Export
Report
This
menu is used to produce a file of the currently displayed report/receipt on the
screen as a text/csv file format. CSV file means comma separated variable file.
These files are commonly used in spread sheet programs like MS Excel.
These files can be opened using standard spread sheet programs.
POS
Print
POS Receipts
Print
POS Receipts
To
print old receipts of Sales. When you click on Print POS Receipts, a dialog box
will appear as shown in Fig78. You can select a particular Bill Number. Then
corresponding sales will be listed.
Print POS receipts Window is as shown in Fig78.

Fig
78:Print POS Receipts Screen
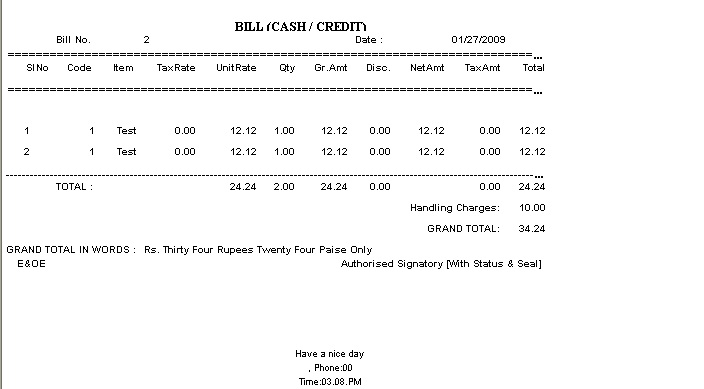
The POS receipts can be printed in 2 different formats.
They are 1. General Format And 2.VAT Format.
General format is shown in Fig 79.
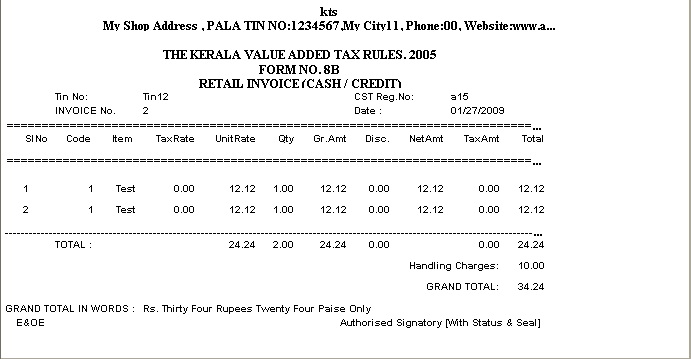
Salesmate+ support 3 types of VAT Formats.
1.For VAT Retailers(8.B),format is shown in Fig 80.
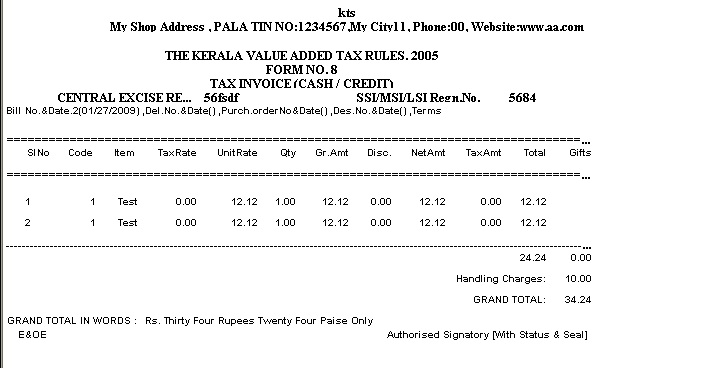
2.For VAT Dealers(8.A),format is shown in Fig
81.

3.For VAT Dealers-Manufacturers(8),format is shown in Fig
82.
Exit
This menu
is used to exit from the application. If auto backup data base is enabled it
will prompt for database backup and will backup database to the specified
folder. It will compact database, if Automatic Compact is enabled.